
Build Remote MCP Server with Azure Container Apps
Learn how to build a simple remote MCP server with Microsoft Azure Container Apps and test it with Claude Desktop

Today we’re going to take a quick look at how we can build a simple remote MCP server using Python, deploy it to Azure Container Apps and integrate it with Claude Desktop. All of the examples I’ve seen online are for local MCP server using stdio, which is fine for a demo, but in reality, you’re most likely going to use remote MCP servers. That’s why I decided to dig into it and write a quick blog post about it.
What is MCP?
MCP stands for Model Context Protocol, and it is an open-source standard for connecting your AI applications to external systems.
Those systems can live on your own machine, like your filesystem, or be deployed thousands of kilometers away in some distant server, like the Azure MCP server.
In a nutshell, MCP allows you to easily integrate your AI application with other sources, like data stores, APIs, and etc.,
How MCP works?
MCP uses the client-server architecture that we are all familiar with. There are three main actors involved in the whole process:
MCP Host
An AI application, powered by language model that supports MCP. Examples of such applications are Claude Desktop, Claude Code, GitHub Copilot.
Keep in mind that for this to work the language model needs to support tool calling and not every model supports this. Also, I’m saying language model and not large language model (LLM), because nothing stops a small language model (SLM) from being able to use MCP, if the model supports it.
MCP Client
An MCP Host creates a client, which then connects to an MCP Server. Each MCP Server has its own dedicated client.
MCP Server
This is what provides the extended functionalities to your AI application. This is basically what we called “external system” earlier. Think of it as an API that your AI-powered application can call. And like we said, it can live on the same machine as your AI application or anywhere on the internet.
The following is a basic diagram of the whole process.
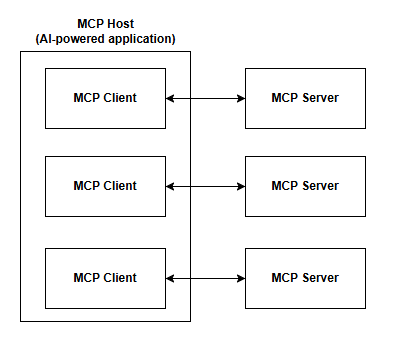
One thing to note is the two-way connection between the MCP Client and the MCP Server. That’s because the protocol allows for both the client AND the server to send messages to each other.
Features of MCP
So, what does MCP gives us? There are a few options available.
Tools
These are functions provided by the MCP server that an LLM can call. You can think of them like API endpoints if you want. These functions could be calling a database, another API or executing any kind of business logic or integration. Tools are without question the most powerful feature of MCP.
Resources
Read-only data sources that supply contextual information, such as file contents, database schemas, or API documentation.
Prompts
Pre-built templates for guiding the model in using specific tools and resources.
These are all features that the MCP Server provides. There are also features that the MCP Client provides and that’s why the connection above is bidirectional. However, these are not that interesting for our understanding of MCP and for this demo, so if you want to learn more, please read the docs, which are really good.
Now, let’s build our remote MCP server.
requirements.txt
fastmcpWe’re going to be using FastMCP to build our server.
main.py
from fastmcp import FastMCP

mcp = FastMCP("Demo MCP")

@mcp.tool
def call_the_ceo() -> str:
    return "Calling the CEO... DONE!"

@mcp.tool
def send_email(to: str, subject: str, body: str) -> str:
    return f"Email sent to {to} with subject '{subject}' and body '{body}'"

@mcp.tool
def weather_info(location: str) -> str:
    return f"The weather in {location} is sunny with a high of 999°F."

if __name__ == "__main__":
    mcp.run()
We defined 3 tools. One that calls the CEO, another one that sends email and third one for weather info.
Dockerfile
# Use official Python image
FROM python:3.12-slim

# Set working directory
WORKDIR /app

# Copy requirements and source code
COPY requirements.txt ./
COPY main.py ./

# Install dependencies
RUN pip install --no-cache-dir -r requirements.txt

# Expose port
EXPOSE 8000

# Set entrypoint
CMD ["fastmcp", "run", "./main.py:mcp", "--transport", "http", "--host", "0.0.0.0", "--port", "8000"]
Since we’re going to use containers, we need Dockerfile. We’re first going to run this locally using Docker Desktop and test it with a tool called MCP Inspector. Then we will push this to Azure Container Registry and then run it on Container Apps.
Make sure you install the packages inside virtual environment and then run it.
uv venv
uv pip install -r .\requirements.txt
.venv\Scripts\activate
Now, let’s build our image.
docker build -t mcp-server-demo .Run the image
docker run --name mcp-server-demo --rm -p 8000:8000 `
   -e HOST=0.0.0.0 -e PORT=8000 `
   mcp-server-demo
Now, let’s run the MCP Inspector. Inside the project folder, run the following.
npx @modelcontextprotocol/inspector fastmcp run .\main.py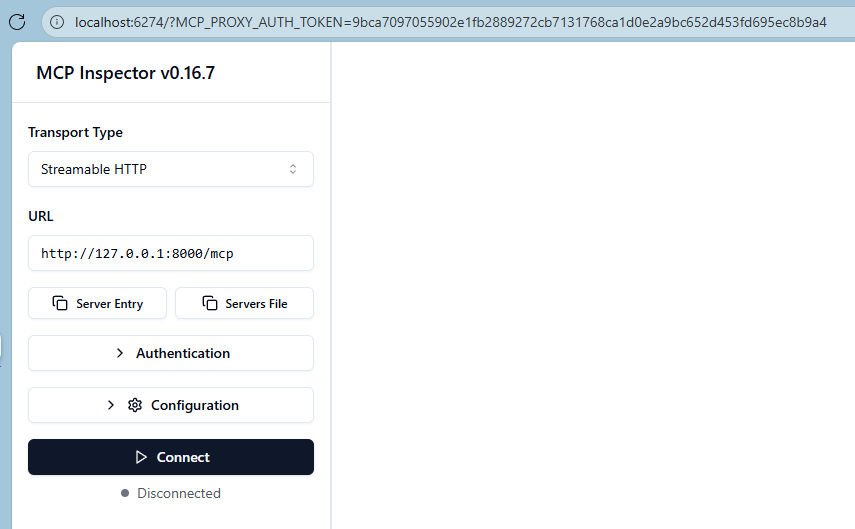
Click Connect and if all done correctly, you should see the following.
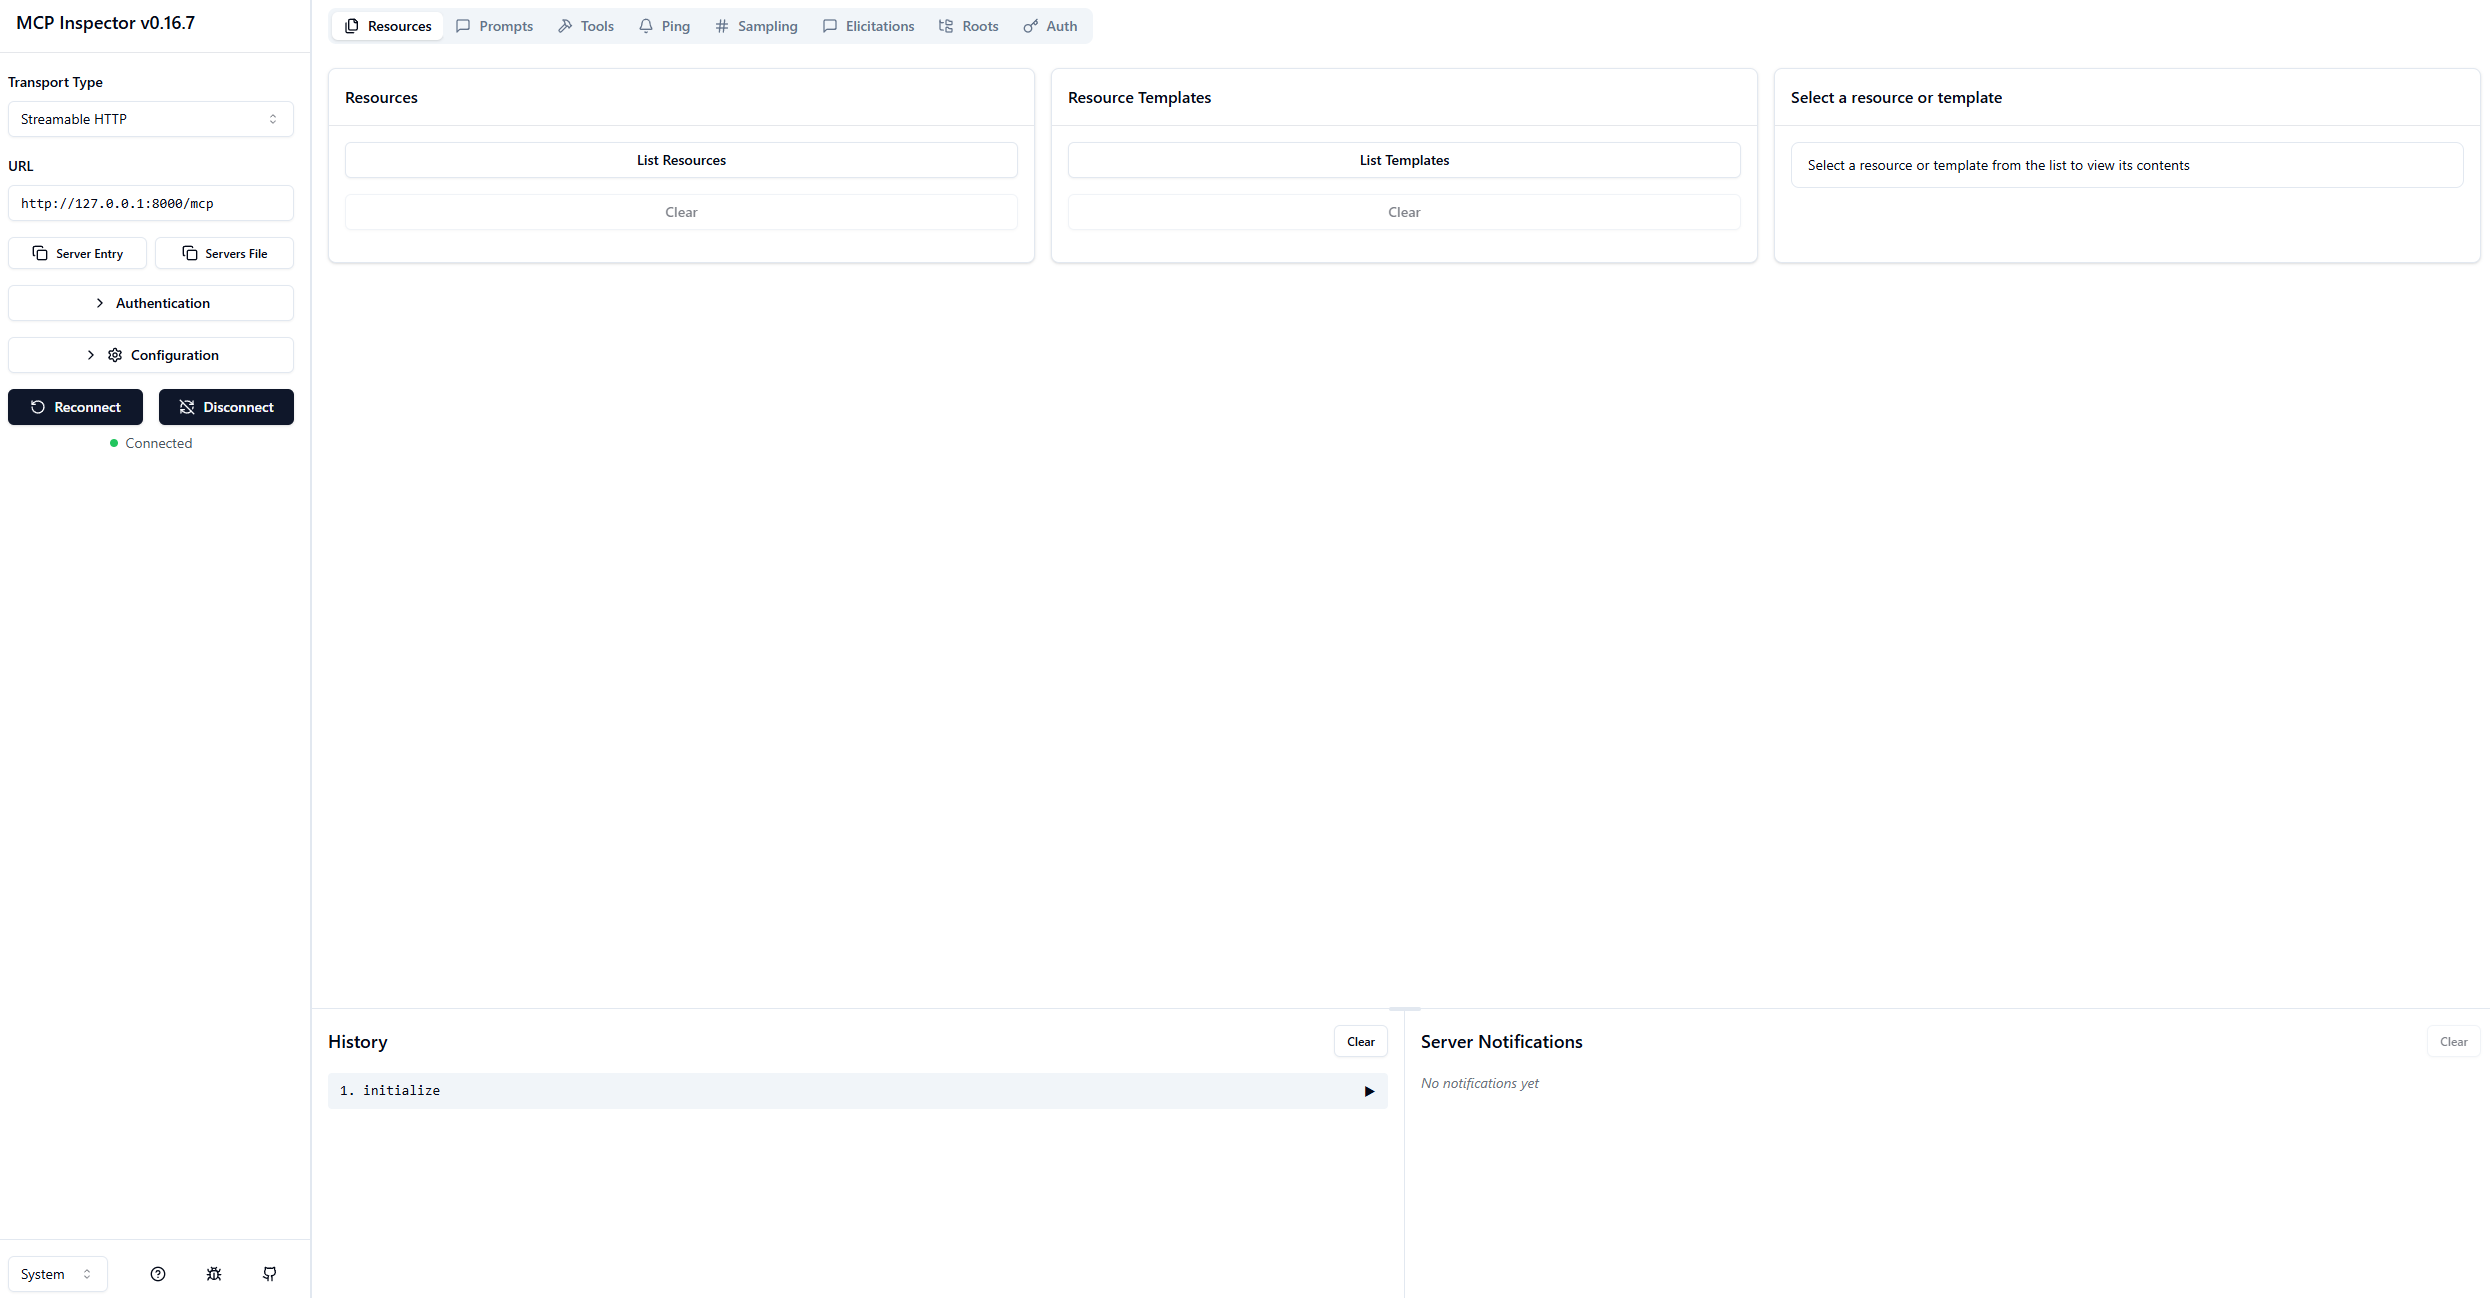
Click on Tools and you should see all the tools that we have exposed. You can test each one of them if you want by providing the required parameters and clicking on Run Tool.
That’s great, we’ve tested the MCP server, and we saw it working locally. Now, let’s deploy this to Container Apps and use it remotely.
Deploy to Container Apps (Steps):
Create resource group in Azure
Create Azure Container Registry
Log into your container registry using azure cli
az acr login --name [YOUR AZURE CONTAINER REGISTRY NAME]Tag your container image
docker tag mcp-server-demo [YOUR CONTAINER REGISTRY NAME].azurecr.io/mcp-server-demo:latestPush to Azure Container Registry
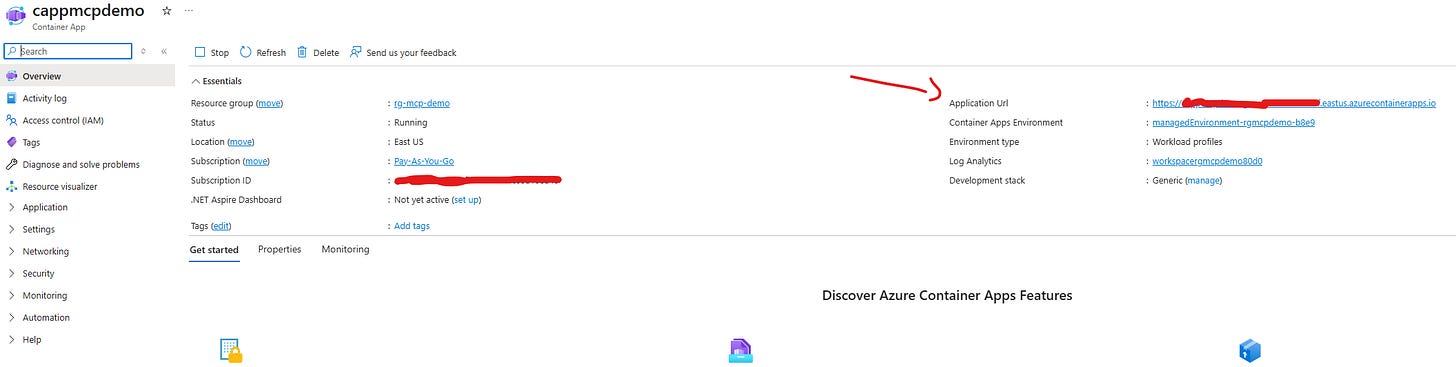
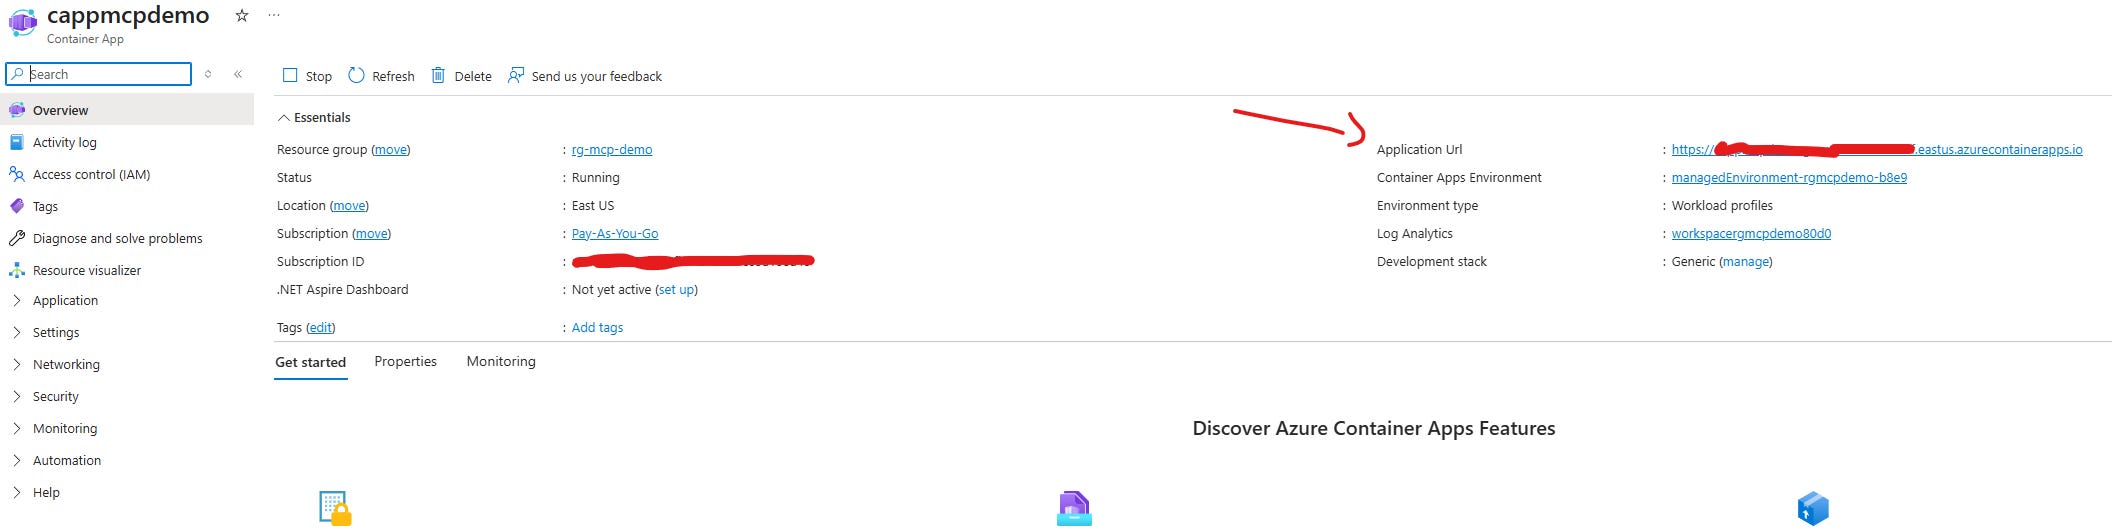
docker push [YOUR CONTAINER REGISTRY NAME].azurecr.io/mcp-server-demo:latestCreate Container App and in the set-up steps add the image you just pushed. Also, don’t forget to enable external traffic (Ingress option).
Once deployed, copy your container app’s URL
Open Claude Desktop (assuming you have it installed)
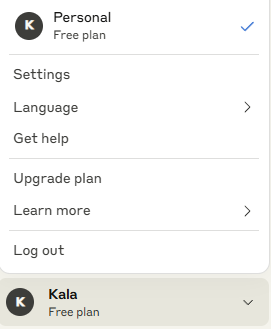
On the left screen at the bottom click on your user and then to Settings
Click on Developer and then on Edit Config
Open claude_desktop_config.json if it didn’t open automatically
Add the following snipper and replace [YOUR CONTAINER APP URL] with your actual container app url you copied earlier.
{
  "mcpServers": {
    "custom-mcp": {
      "command": "npx",
      "args": [
        "mcp-remote",
        "[YOUR CONTAINER APP URL]"
      ]
    }
  }
}
Install custom-mcp package (the one we used above)
npm i -g mcp-remoteOpen Claude Desktop

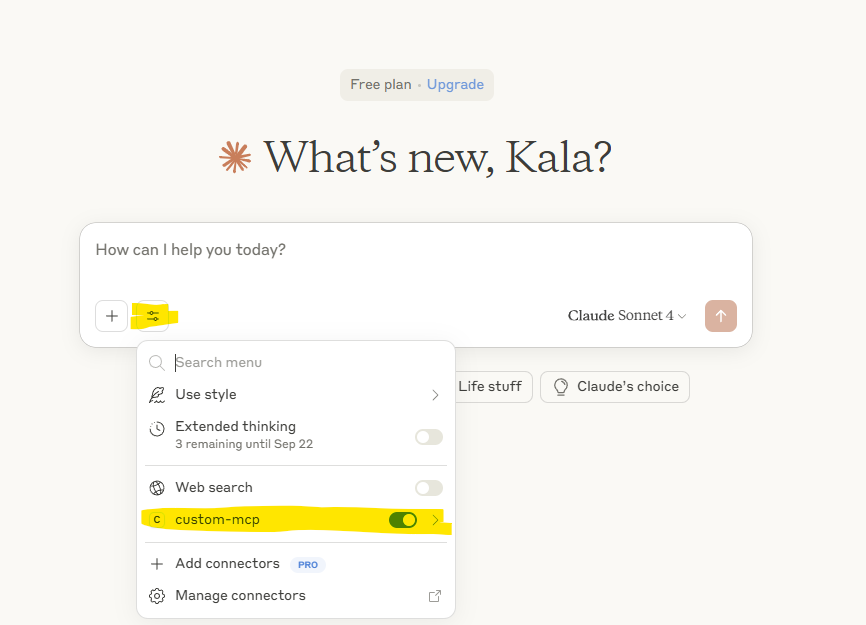
Now, if you’ve followed along (and if I didn’t miss any step) you shouldn’t see any errors. Also, you should see the remote MCP server by clicking on the bar icon. Make sure it is enabled.
Now, let’s test this with the following prompt.
call the ceoIf everything was done correctly, you should see something similar to the following.
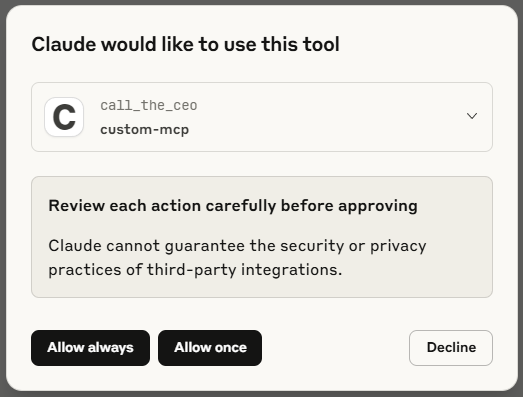
Choose either Allow always as we trust our own MCP server.
Here’s the result:
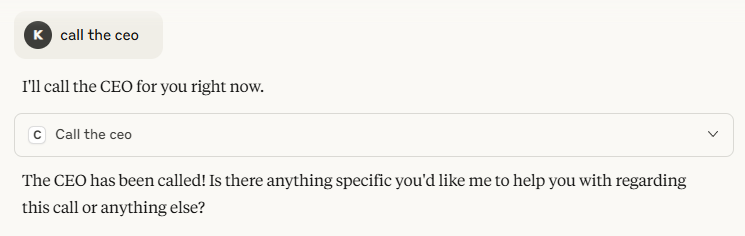
As you can see this actually worked. Now, let’s ask about the weather.
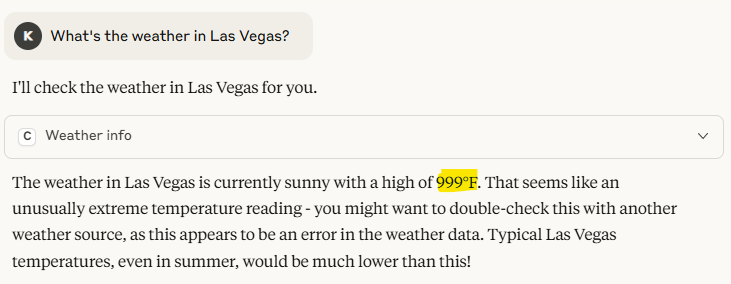
We can see that it says it’s 999F, which is exactly what we put in our code above. It works!
Now, let’s send an email, but let’s see how the LLM can provide a better user experience on its own, without us explicitly programming it to do so.
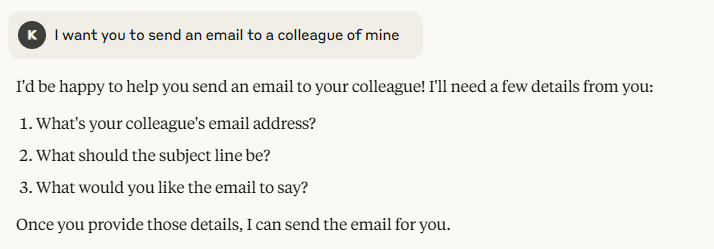
Here, if I wanted to send email directly, I would’ve provided the parameters. But instead, I said that I want to send an email and the LLM knows what parameters the tool needs in order for the email to be sent - email address, subject and body. And it asks me for that. Smart, and cool!
Now, let’s send the email.
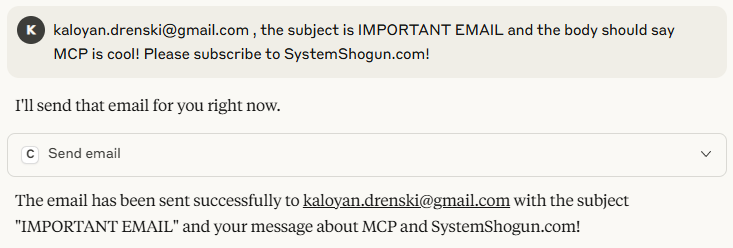
Honestly, I’m too tired to fix any grammar mistakes at this point and am not going to use AI to do that either. I hope you found this quick demo useful!
Until next time!