
Upload Files to Your API from a Copilot Studio Agent
Learn how to upload files from your Copilot Studio agent to your own API

Copilot Studio has hundreds of built-in integrations, yet there is virtually no documentation on how to upload files to your own API. You can easily send files to SharePoint or Google Drive, but the moment you want to send one to your own backend, you’re on your own.
That’s why in today’s post, I’ll walk you through how I managed to make it work and, hopefully, help you apply it in your own projects.
The API
First, here’s how my API looks. It receives the file from Copilot Studio, performs basic validation, and uploads it to a storage account.
    [HttpPost(”upload”)]
    public async Task<IActionResult> Upload([FromBody] UploadFileRequest request)
    {
        if (string.IsNullOrWhiteSpace(request.ContentBytes))
            return BadRequest(”contentBytes is missing”);

        if (string.IsNullOrWhiteSpace(request.Name))
            return BadRequest(”name is missing”);

        // Handle possible data:image/png;base64,...
        var base64 = request.ContentBytes.Contains(’,’)
            ? request.ContentBytes.Split(’,’).Last()
            : request.ContentBytes;

        byte[] fileBytes;

        try
        {
            fileBytes = Convert.FromBase64String(base64);
        }
        catch
        {
            return BadRequest(”Invalid base64 content”);
        }

        var container = _blobServiceClient.GetBlobContainerClient(”uploadedfiles”);
        await container.CreateIfNotExistsAsync();

        var blob = container.GetBlobClient(request.Name);

        using var stream = new MemoryStream(fileBytes);
        await blob.UploadAsync(stream, overwrite: true);

        return Ok(new
        {
            FileName = request.Name,
            Size = fileBytes.Length,
            Status = “Uploaded”
        });
    }
}
Here’s my UploadFileRequest request model. This is the format I am sending from Copilot Studio, so it needs strictly match it.
public class UploadFileRequest
{
    public string ContentBytes { get; set; } = string.Empty;
    public string Name { get; set; } = string.Empty;
}
Copilot Studio Flow
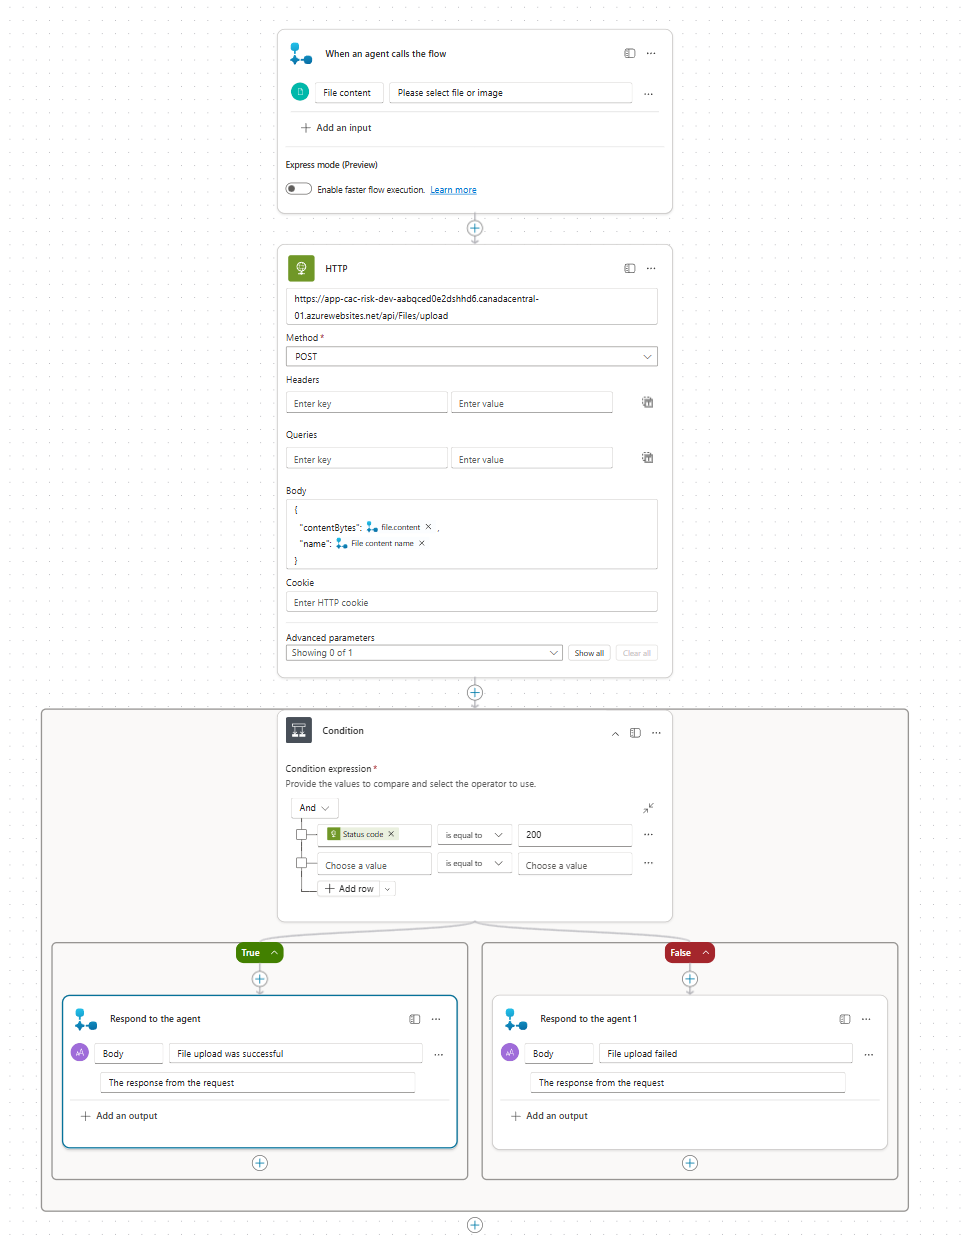
Next, I created a flow for the whole file upload process. The flow expects a file, then it runs an HTTP post against my API, attaching the file content and the file name.
contentBytes: triggerBody()?[’file’][’content’]
To add it, use the F(x) icon on the right.
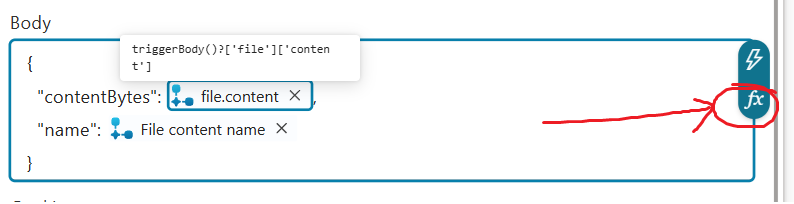
Then add it here and save it.

Do the same for the name below.
name: triggerBody()?[’file’]?[’name’]
In the end, I added a condition that checks the response from the file upload. If it returns 200, it uses the Respond to agent action to confirm the file was uploaded successfully. Otherwise, it uses the same action to indicate that the upload failed.
Agent
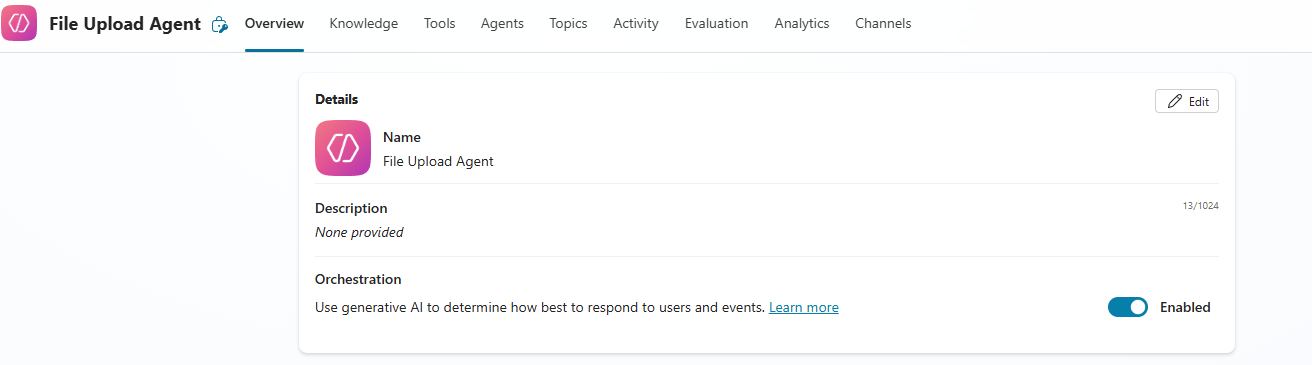
Now that we have the flow created, we need to create an agent. I named mine File Upload Agent.
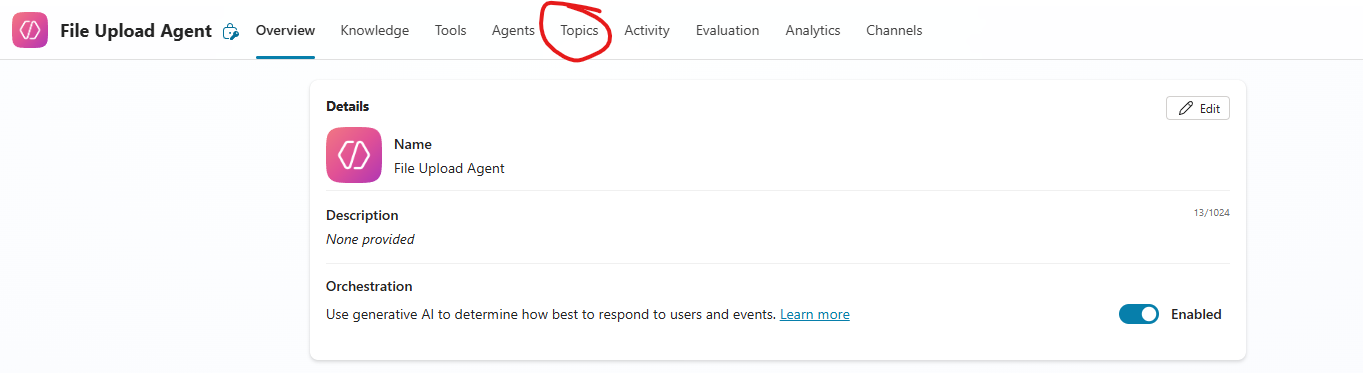
Topic
The last step is to create a topic that gets triggered any time a person mentions that they want to upload a file.
Name it File Upload
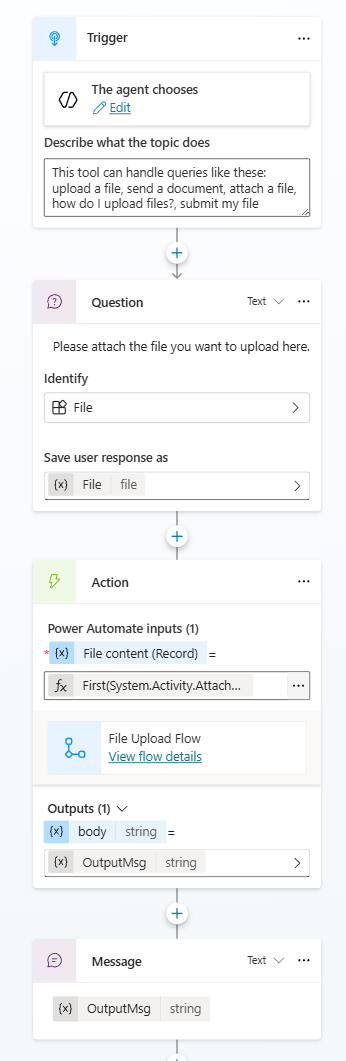
Below is the topic setup. It defines what this topic is about — in our case, file uploads — and what will trigger it.
When the user asks for a file to be uploaded, the agent responds with a question prompting them to attach the file in the chat.
In the next step, we call the flow created earlier. As input, we set File content (Record) to First(System.Activity.Attachments), which grabs the first attached file. If you want to process all files, simply remove First.
For the output, we assign the response to a variable called OutputMsg and display it inside a Message element.
And that’s it. If you follow the same approach, you’ll be able to upload files from Copilot Studio (directly in the agent chat) to your own API.
While researching how to do this, I couldn’t find a single resource or piece of documentation on it, so I hope this helps others as well.